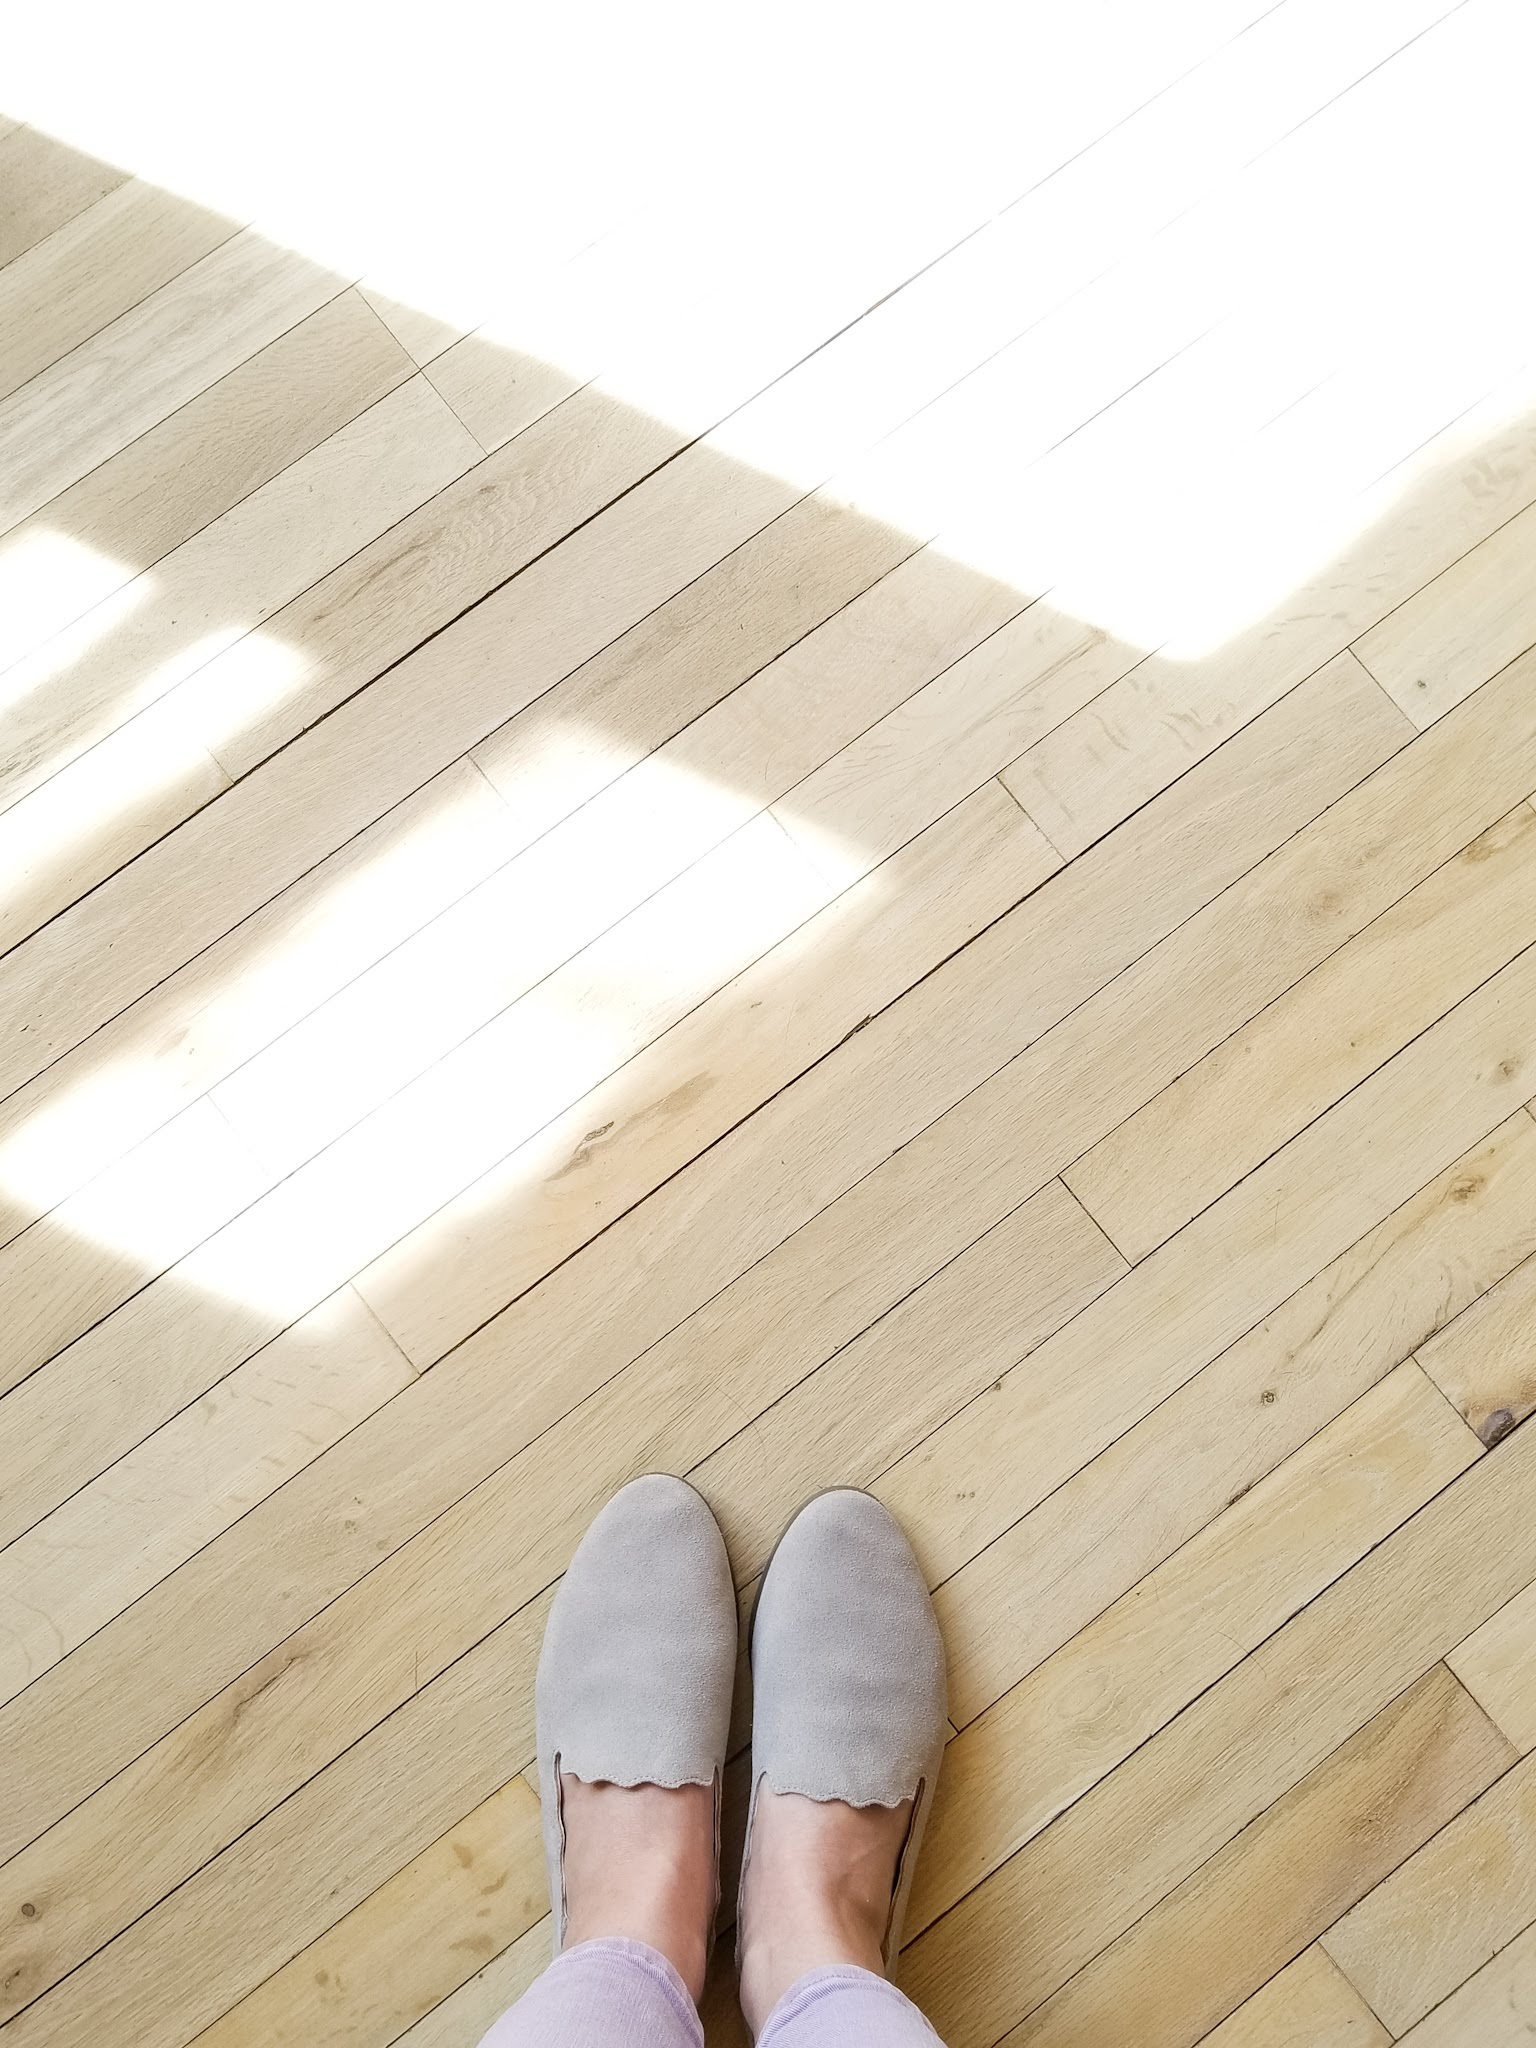
So you’re thinking about refinishing your hardwood floors? Today I will weigh in on the pros and cons of doing it yourself vs. calling the professionals. I will also walk you through the first steps in DIYing it.
Pros:
Saves money.
Lets you control how fast or slow the project goes.
Gives you full control over the process.
Gives you the satisfaction of a job well done.
Cons:
A lot of hard work.
More room for error.
Time consuming.
Whether you choose to call the professionals or DIY it, you are going to have a lot of dust, so be prepared to clean everything, and I mean everything in your entire house.
Preparations:
When preparing the area, you are going to refinish, remove everything, yes everything, from the space. Next use masking plastic and painters tape to block off any doorways or openings as best as possible.
Once the space is prepared you are going to want to rent a sander. There are a few different options to choose from. We went with a random orbit floor sander, but ultimately wished we would’ve chosen a drum sander.
Our floors had more than the standard amount of poly topcoat on them so it would have been beneficial to have a heavier duty sander. This may not be the case for you.
You are also going to want to rent an edger and sandpaper to go with both sanders. We went with the grits recommended to use, which I believe were 24, 36, 60, 80. The gentlemen at our local Home Depot, where we rented from, were very helpful in walking us through what we needed.
I highly recommend talking with the guys in the rental center (we used The Home Depot) and having them walk you through the sanding process.
Things we learned as we went:
Its going to take more time and sandpaper then you think.
There is so much dust, and it gets literally everywhere, even the rest of the house.
Even when it looks like all the poly is off, there is a good chance you missed some.
Process:
Step 1: Start with the 24 grit and sand the whole area, changing sandpaper often to maximize your time and effort. Do this using both the random orbital or drum sander (depending on which you chose to rent) and the edger.
Step 2: Repeat step 1 using the 36 grit.
If you have any spots that need filled, this will need to be done after you get the poly off but before your final grit. I would do this either after the 36 or the 60 grit.
Steps 3&4: Repeat step 1 using the 60 and then the 80 grit.
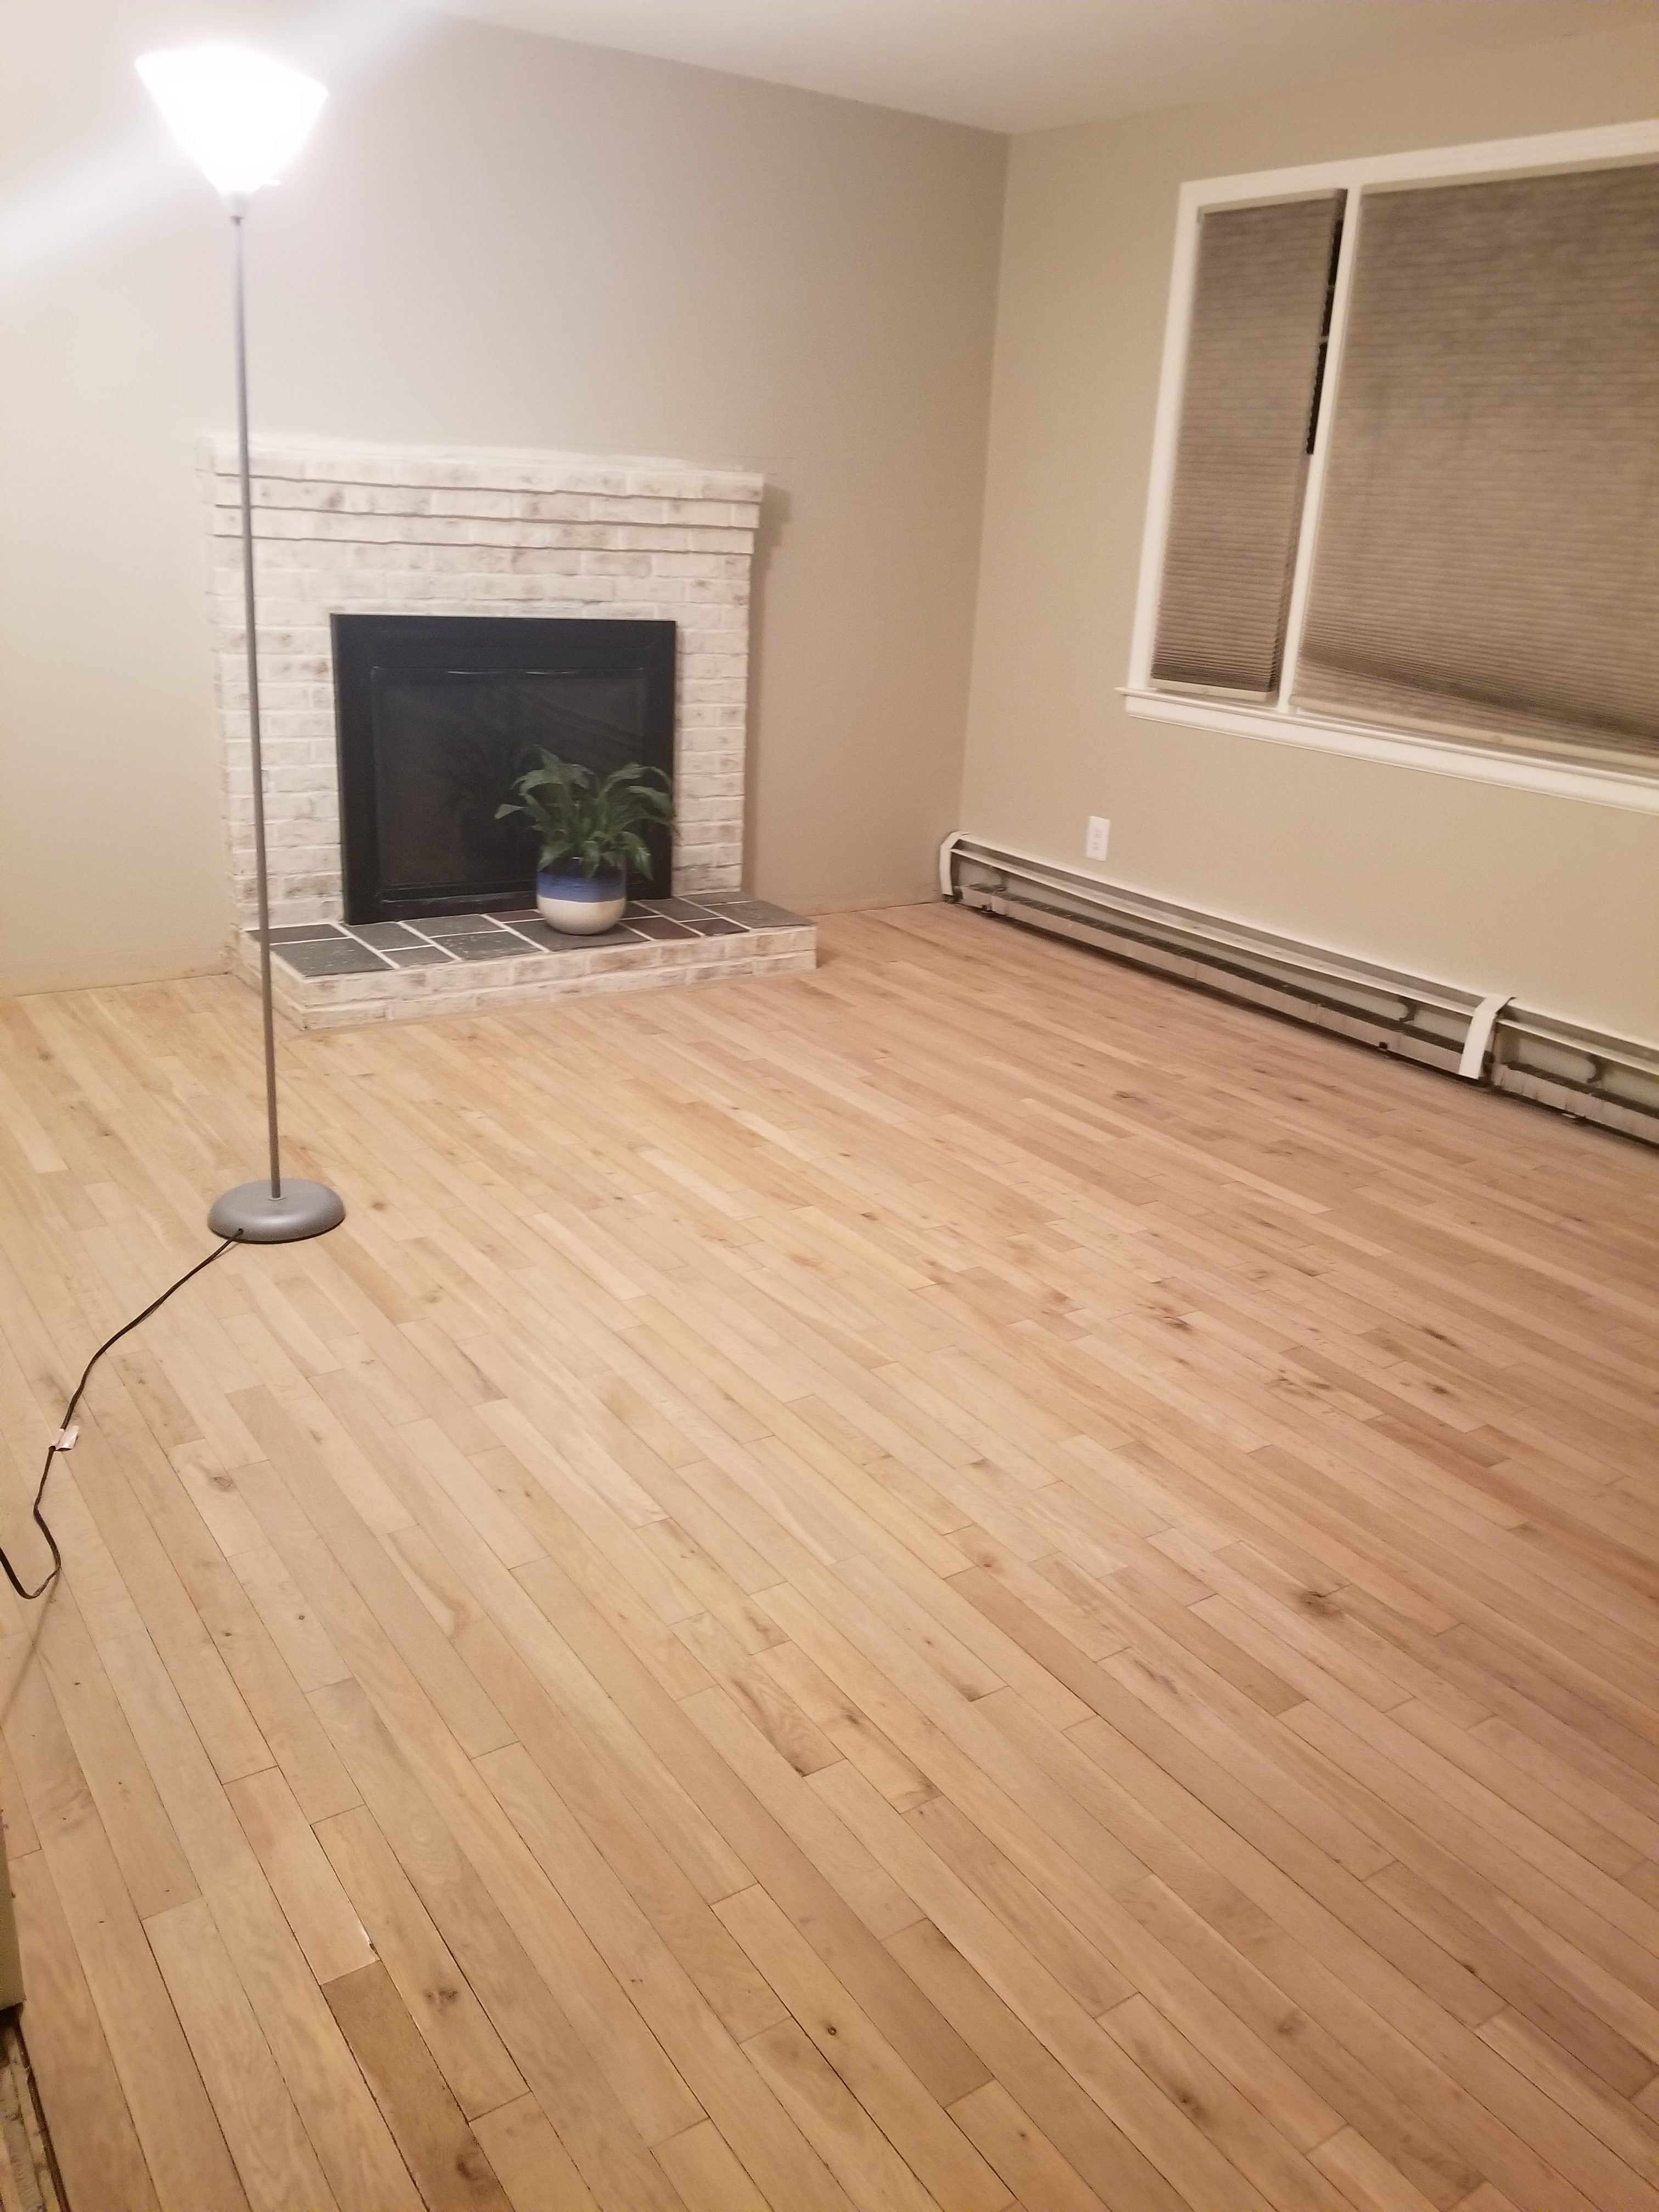
Step 5:After you are satisfied with your sanding, you are going to want to clean everything. Multiple times. I think we cleaned the floors no fewer then 10 times.
Stay tuned for parts 2 & 3 where I will cover the staining and if we would ever sand and stain our hardwood floors again.