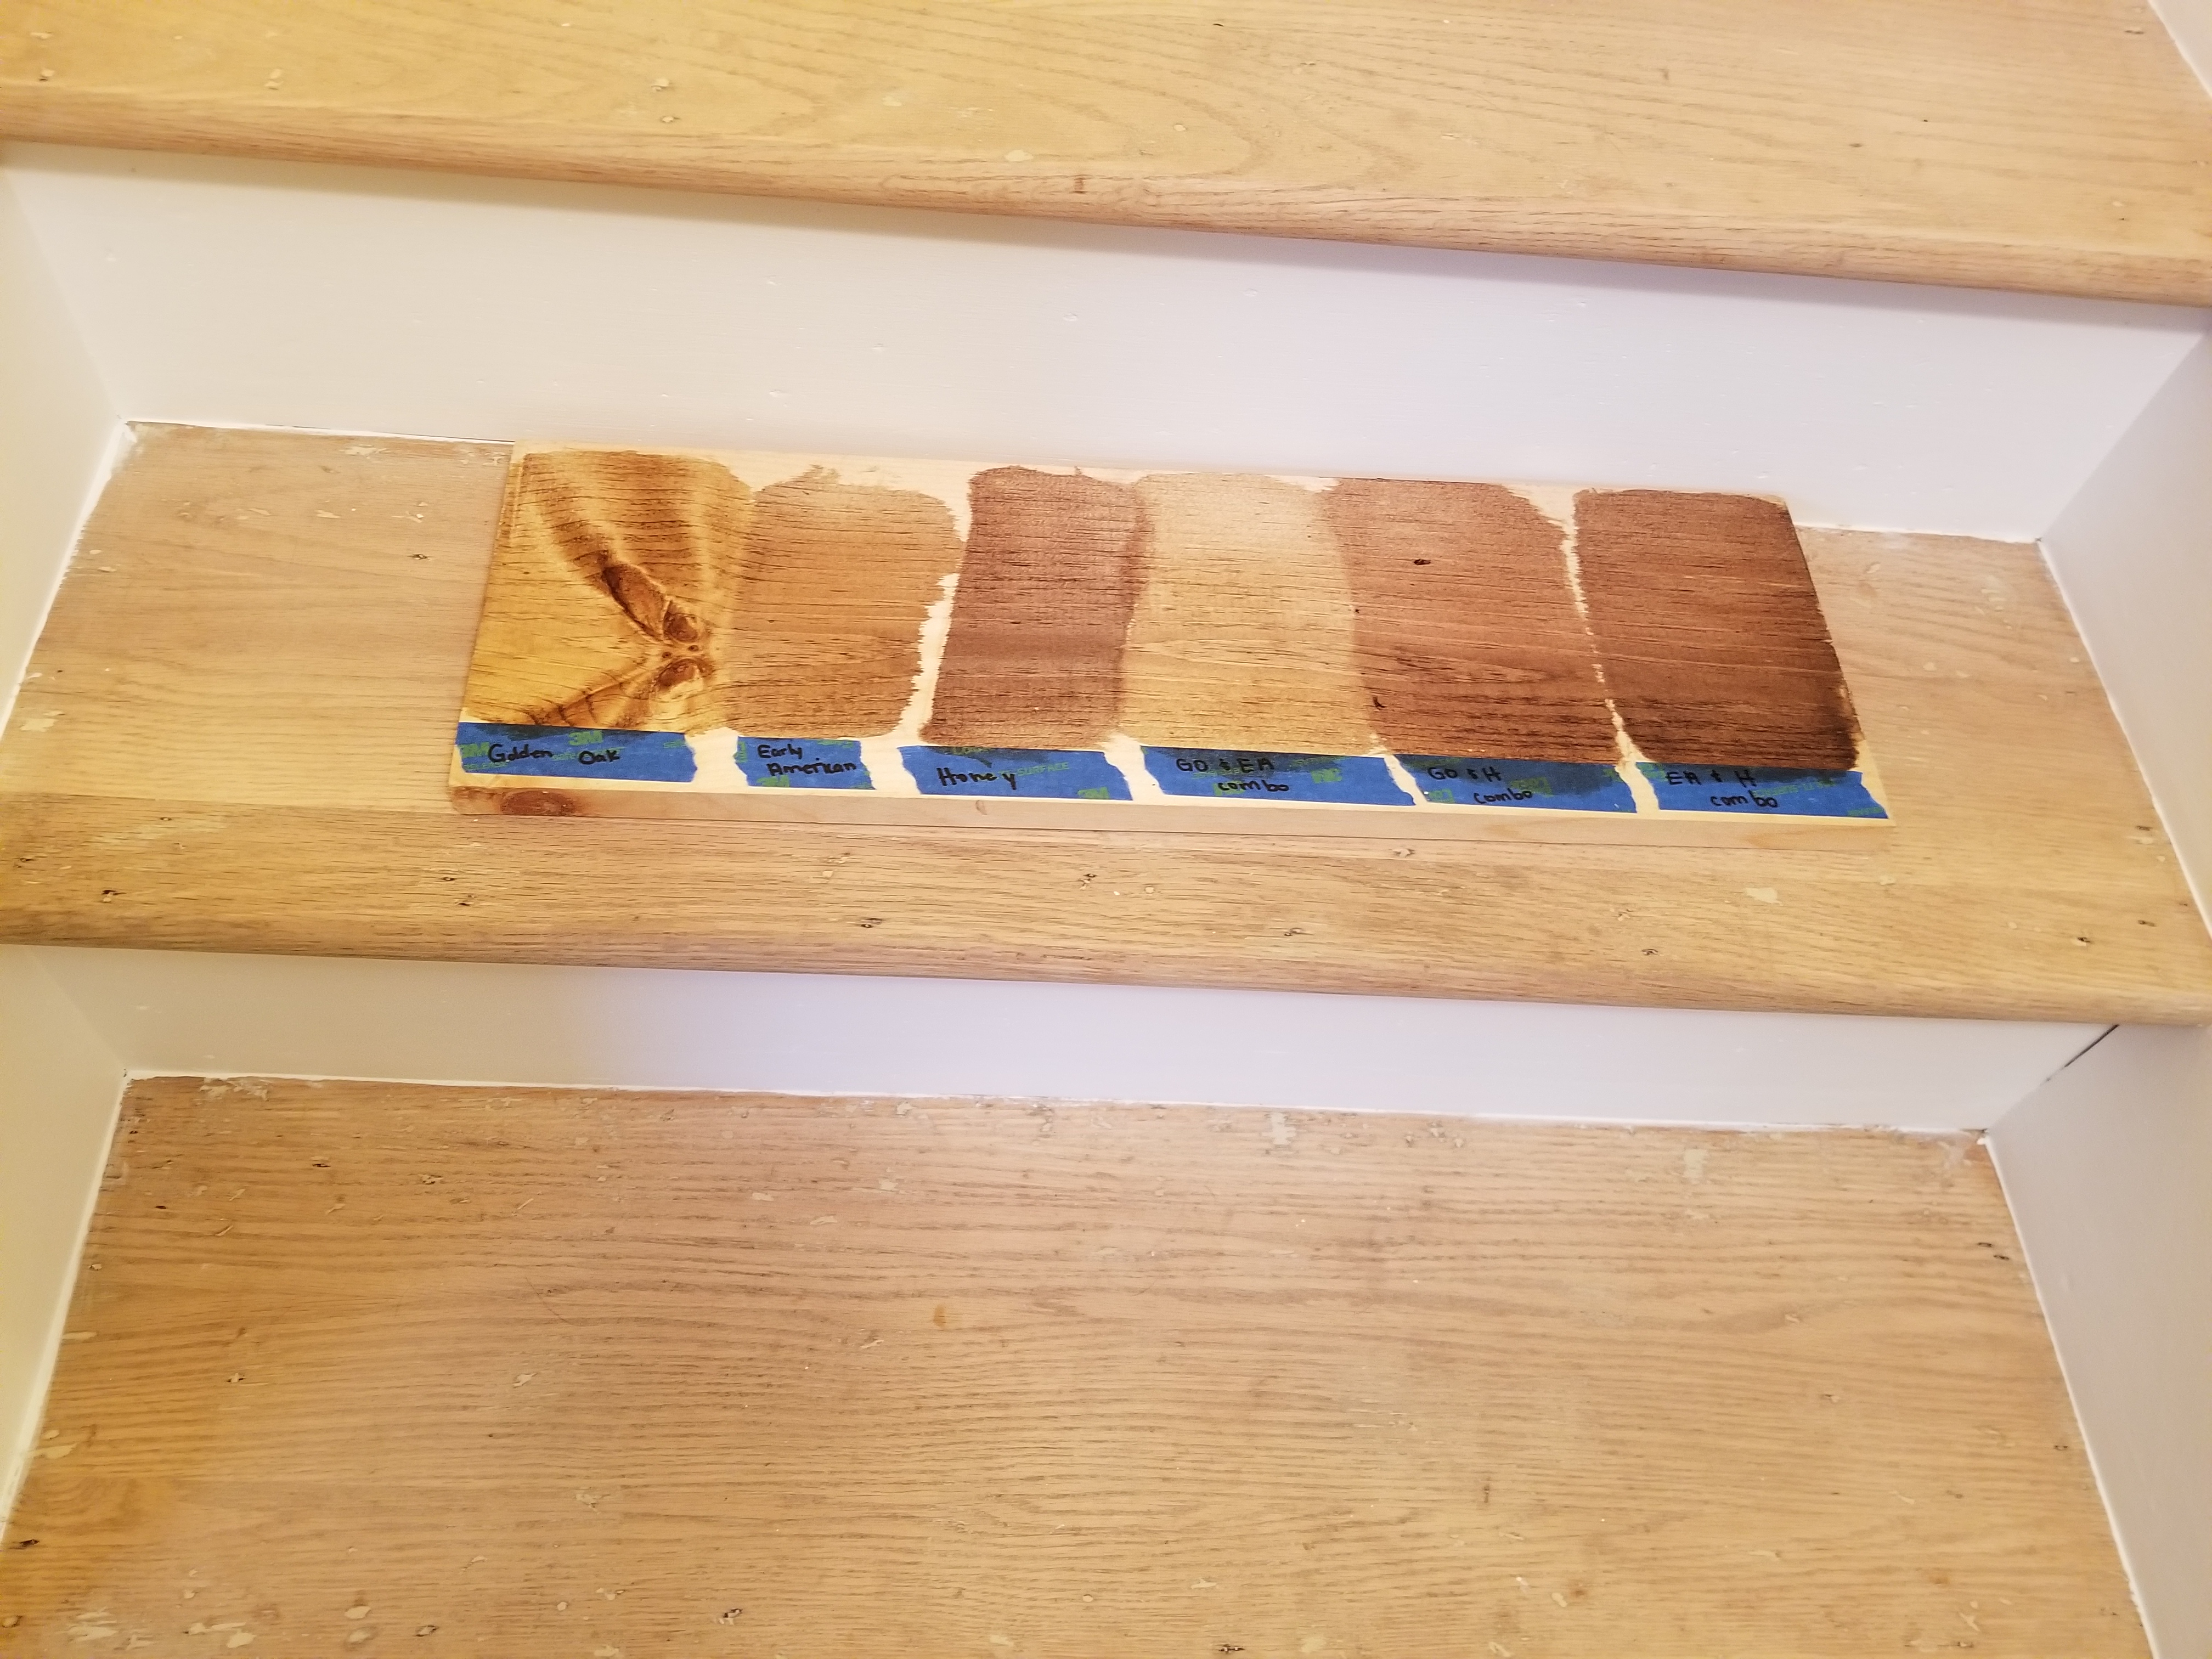
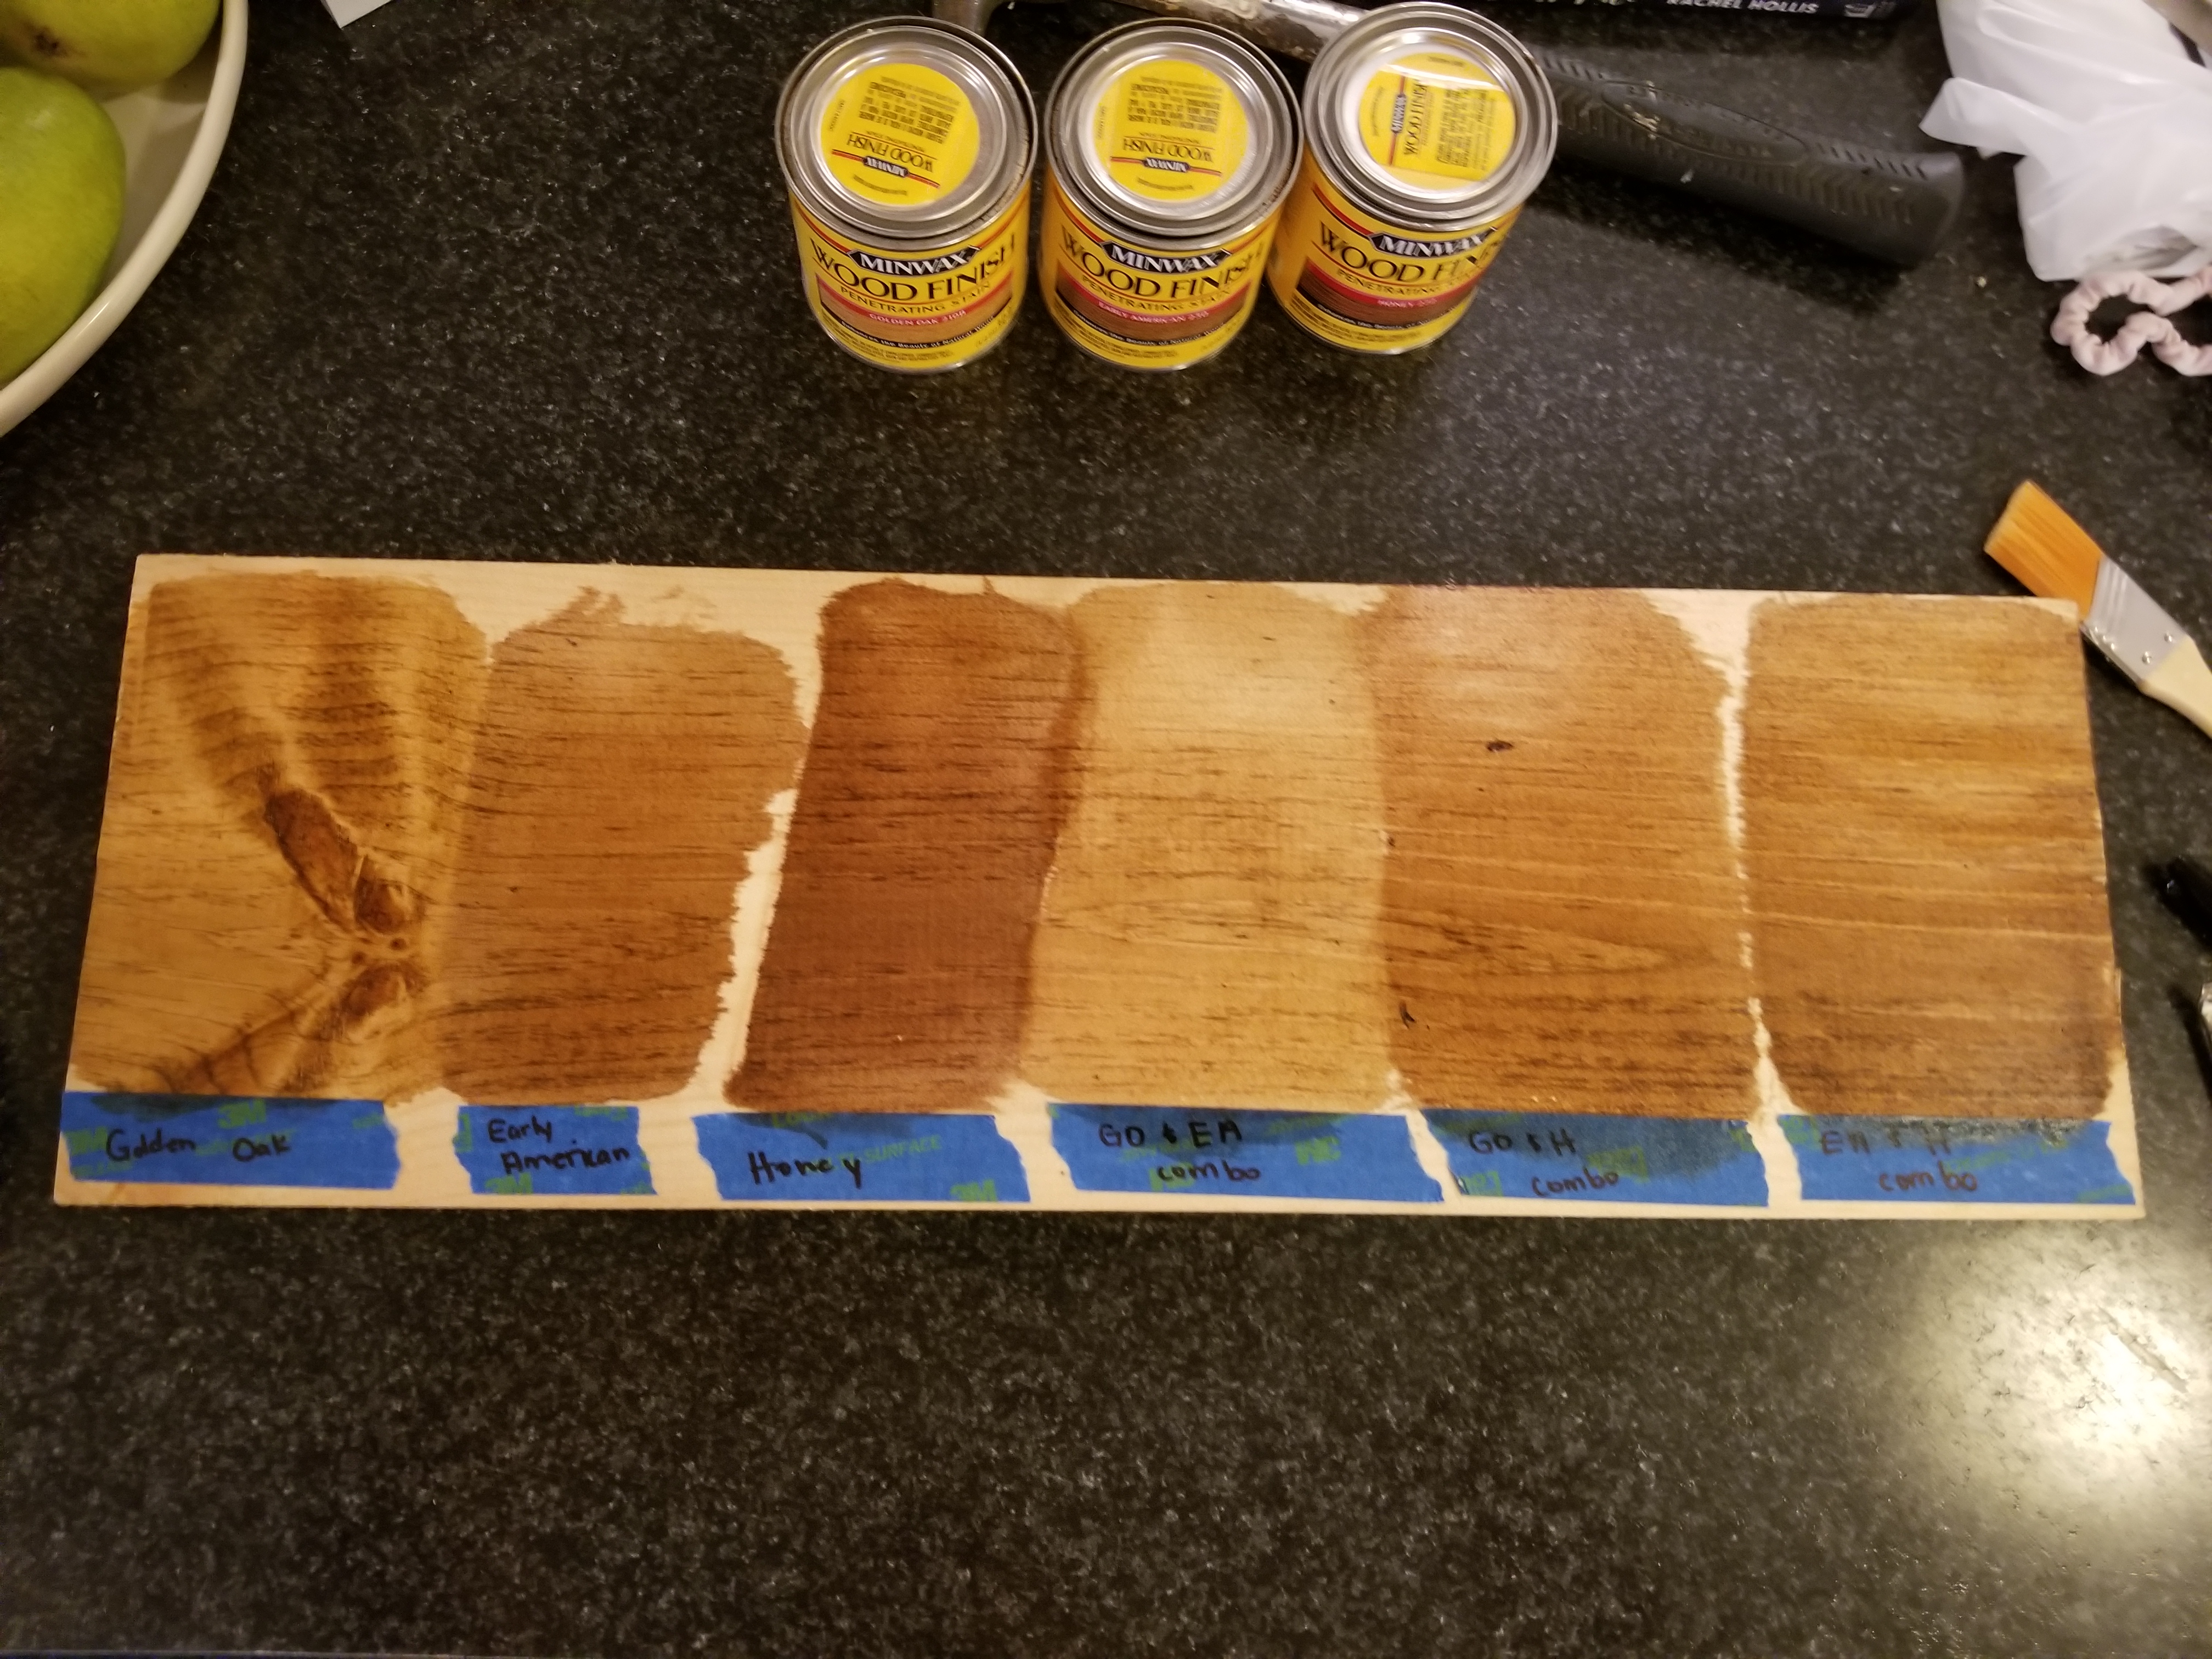
In order to narrow down what our top color choices were I grabbed a piece of scrap wood from the garage. I knew this wouldn’t be a completely accurate depiction of the color as it was a different wood than our floors, but I want to narrow the amount of choices down before doing test patches on our floors.
I was then able to move the board around to different parts of the room to see how the colors looked in different lighting.
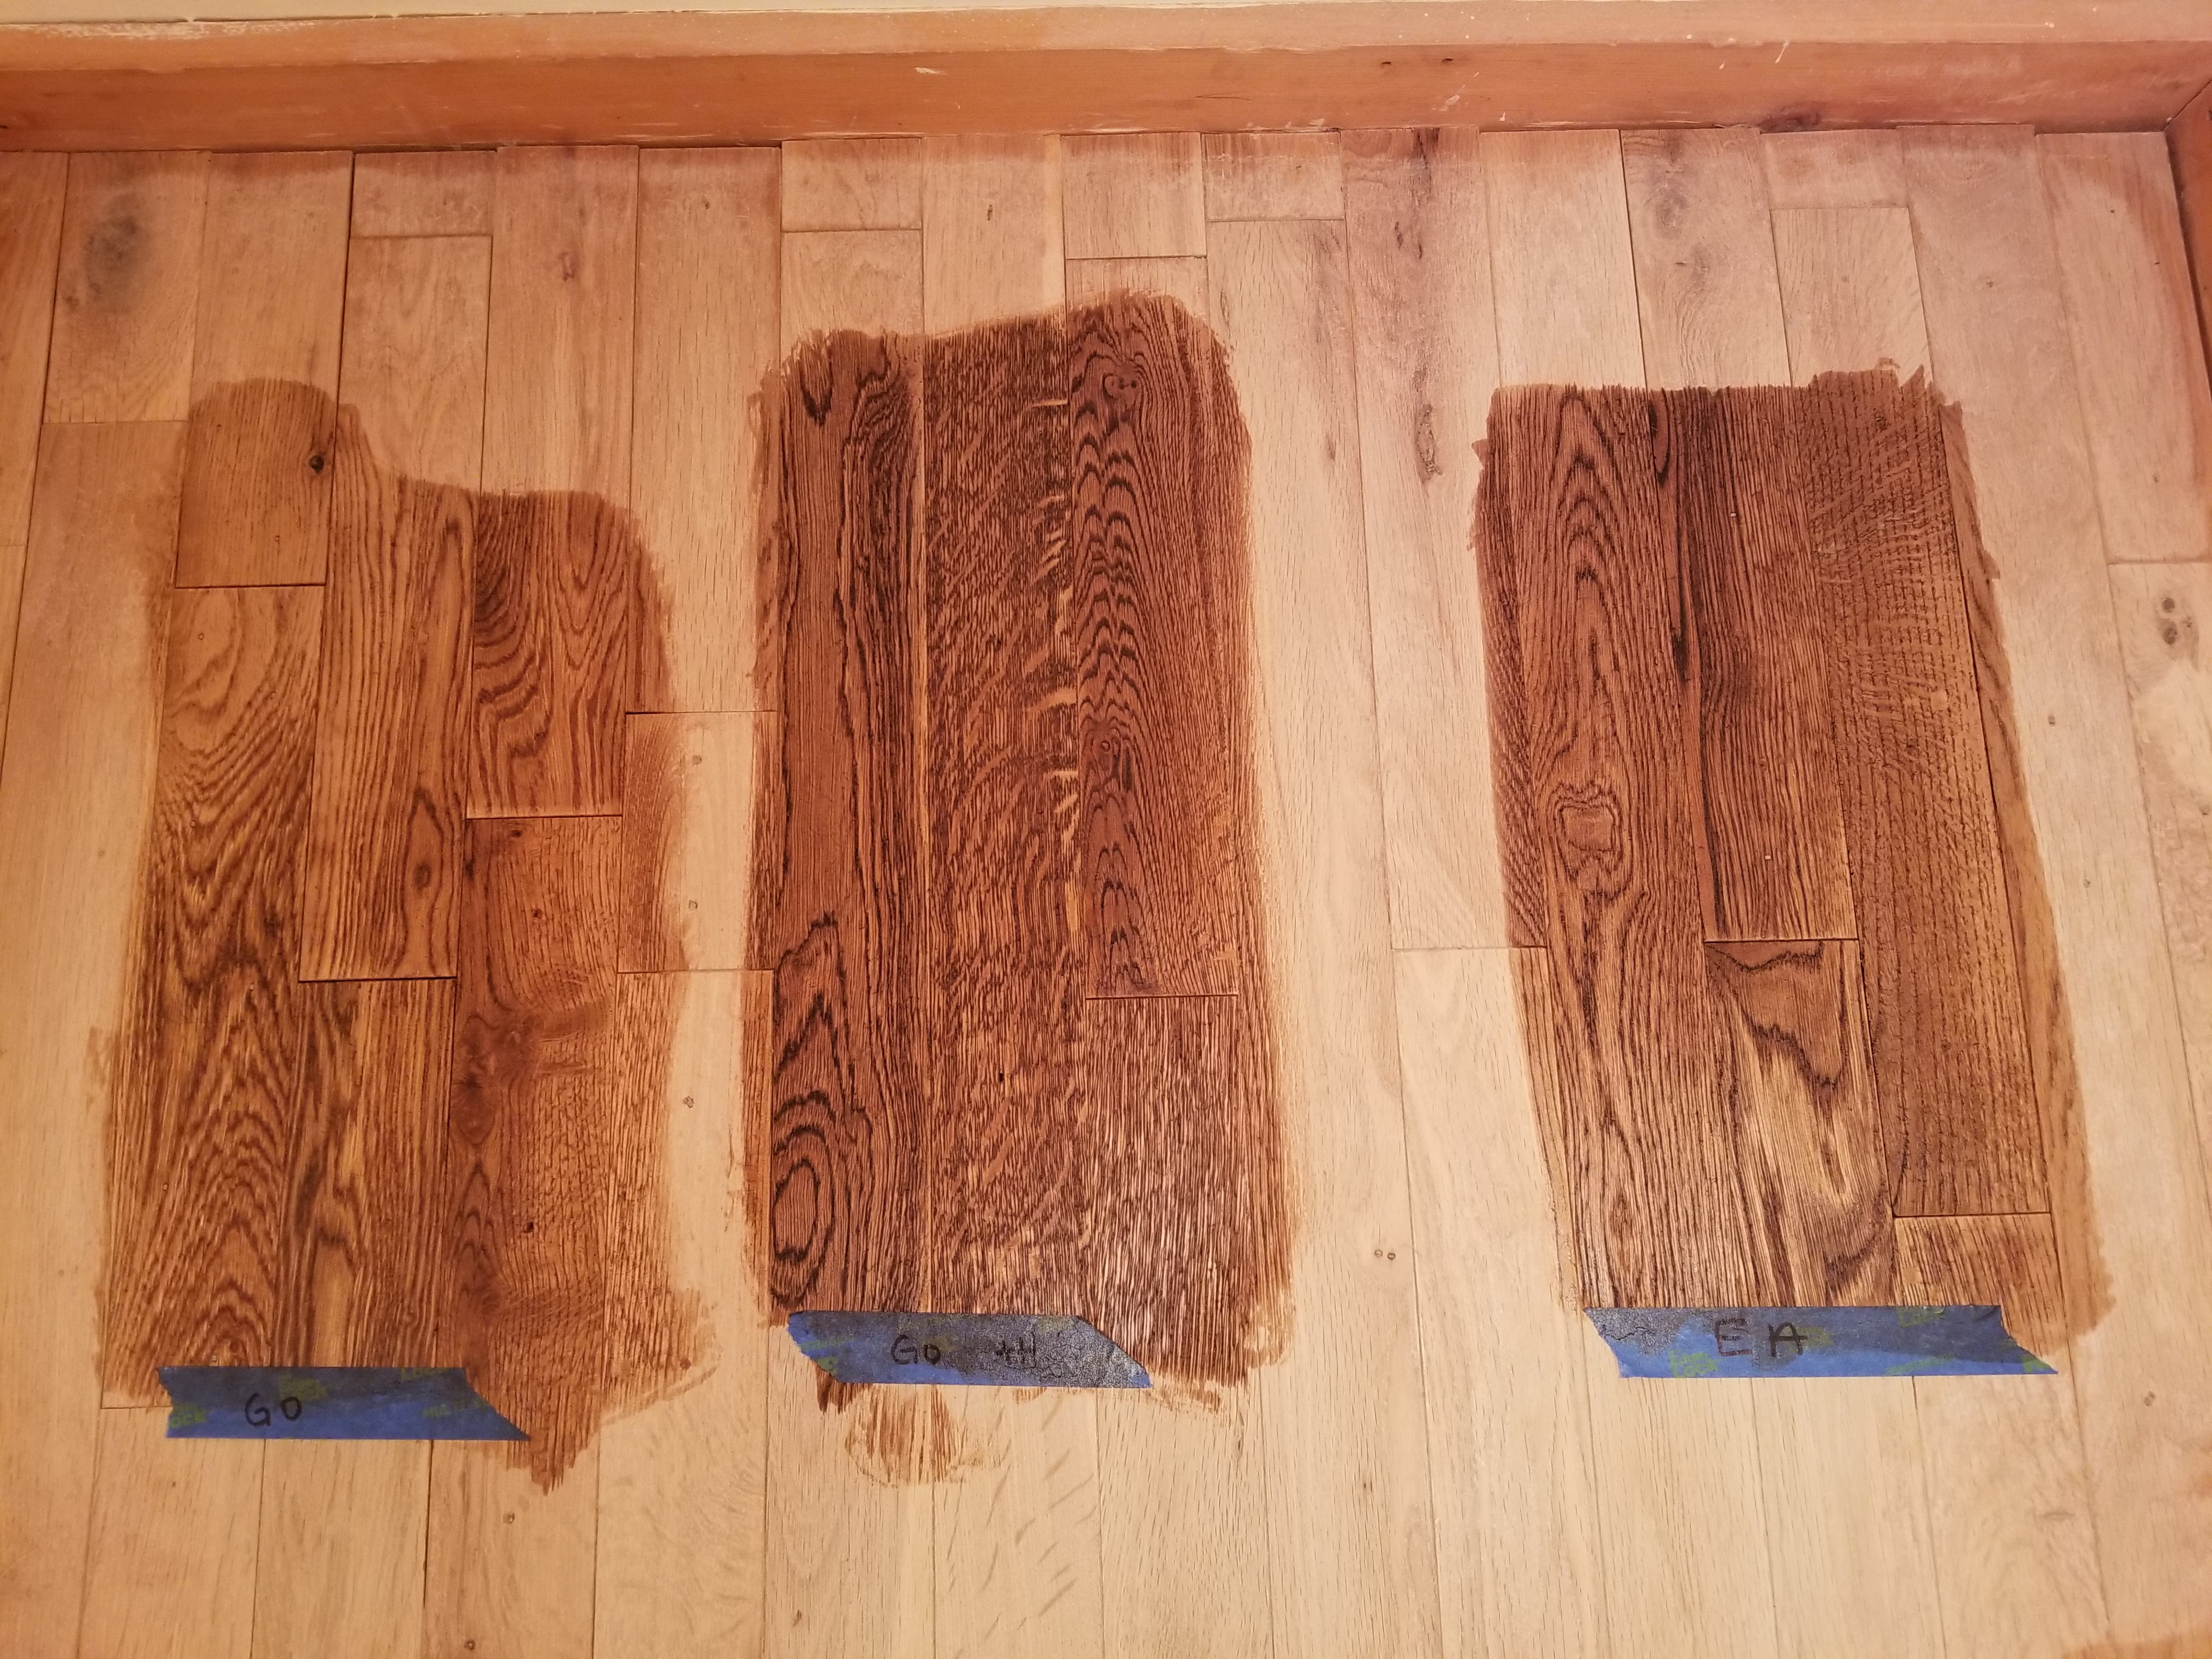
Once we’d narrowed it down to three colors I put samples on the closet floor. If you choose to put samples directly on the floor like we did make sure that they are in a discrete place or that you are willing to sand the floors again as the color will discolor that spot once the final stain is placed on. The spot in the closet is tucked out of the way, so not noticeable. If you know what kind of hardwood your floors are then you could pick up a piece of that wood and use that as your sample area as it would be pretty close to a true color match.
To do all my samples I just used old rags I didn’t mind ruining.
What you'll need to Stain:
You’ll need the stain color you choose. Follow the guidelines on the back of the can for quantity.
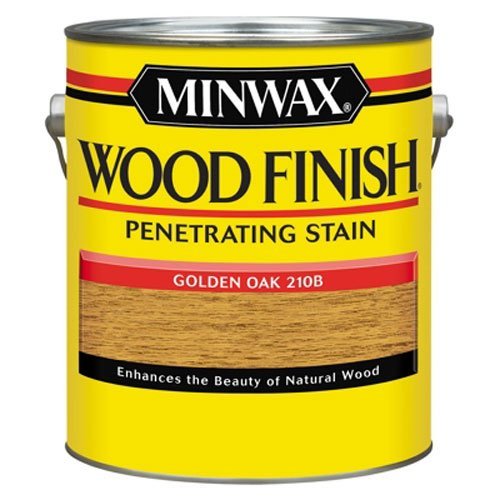
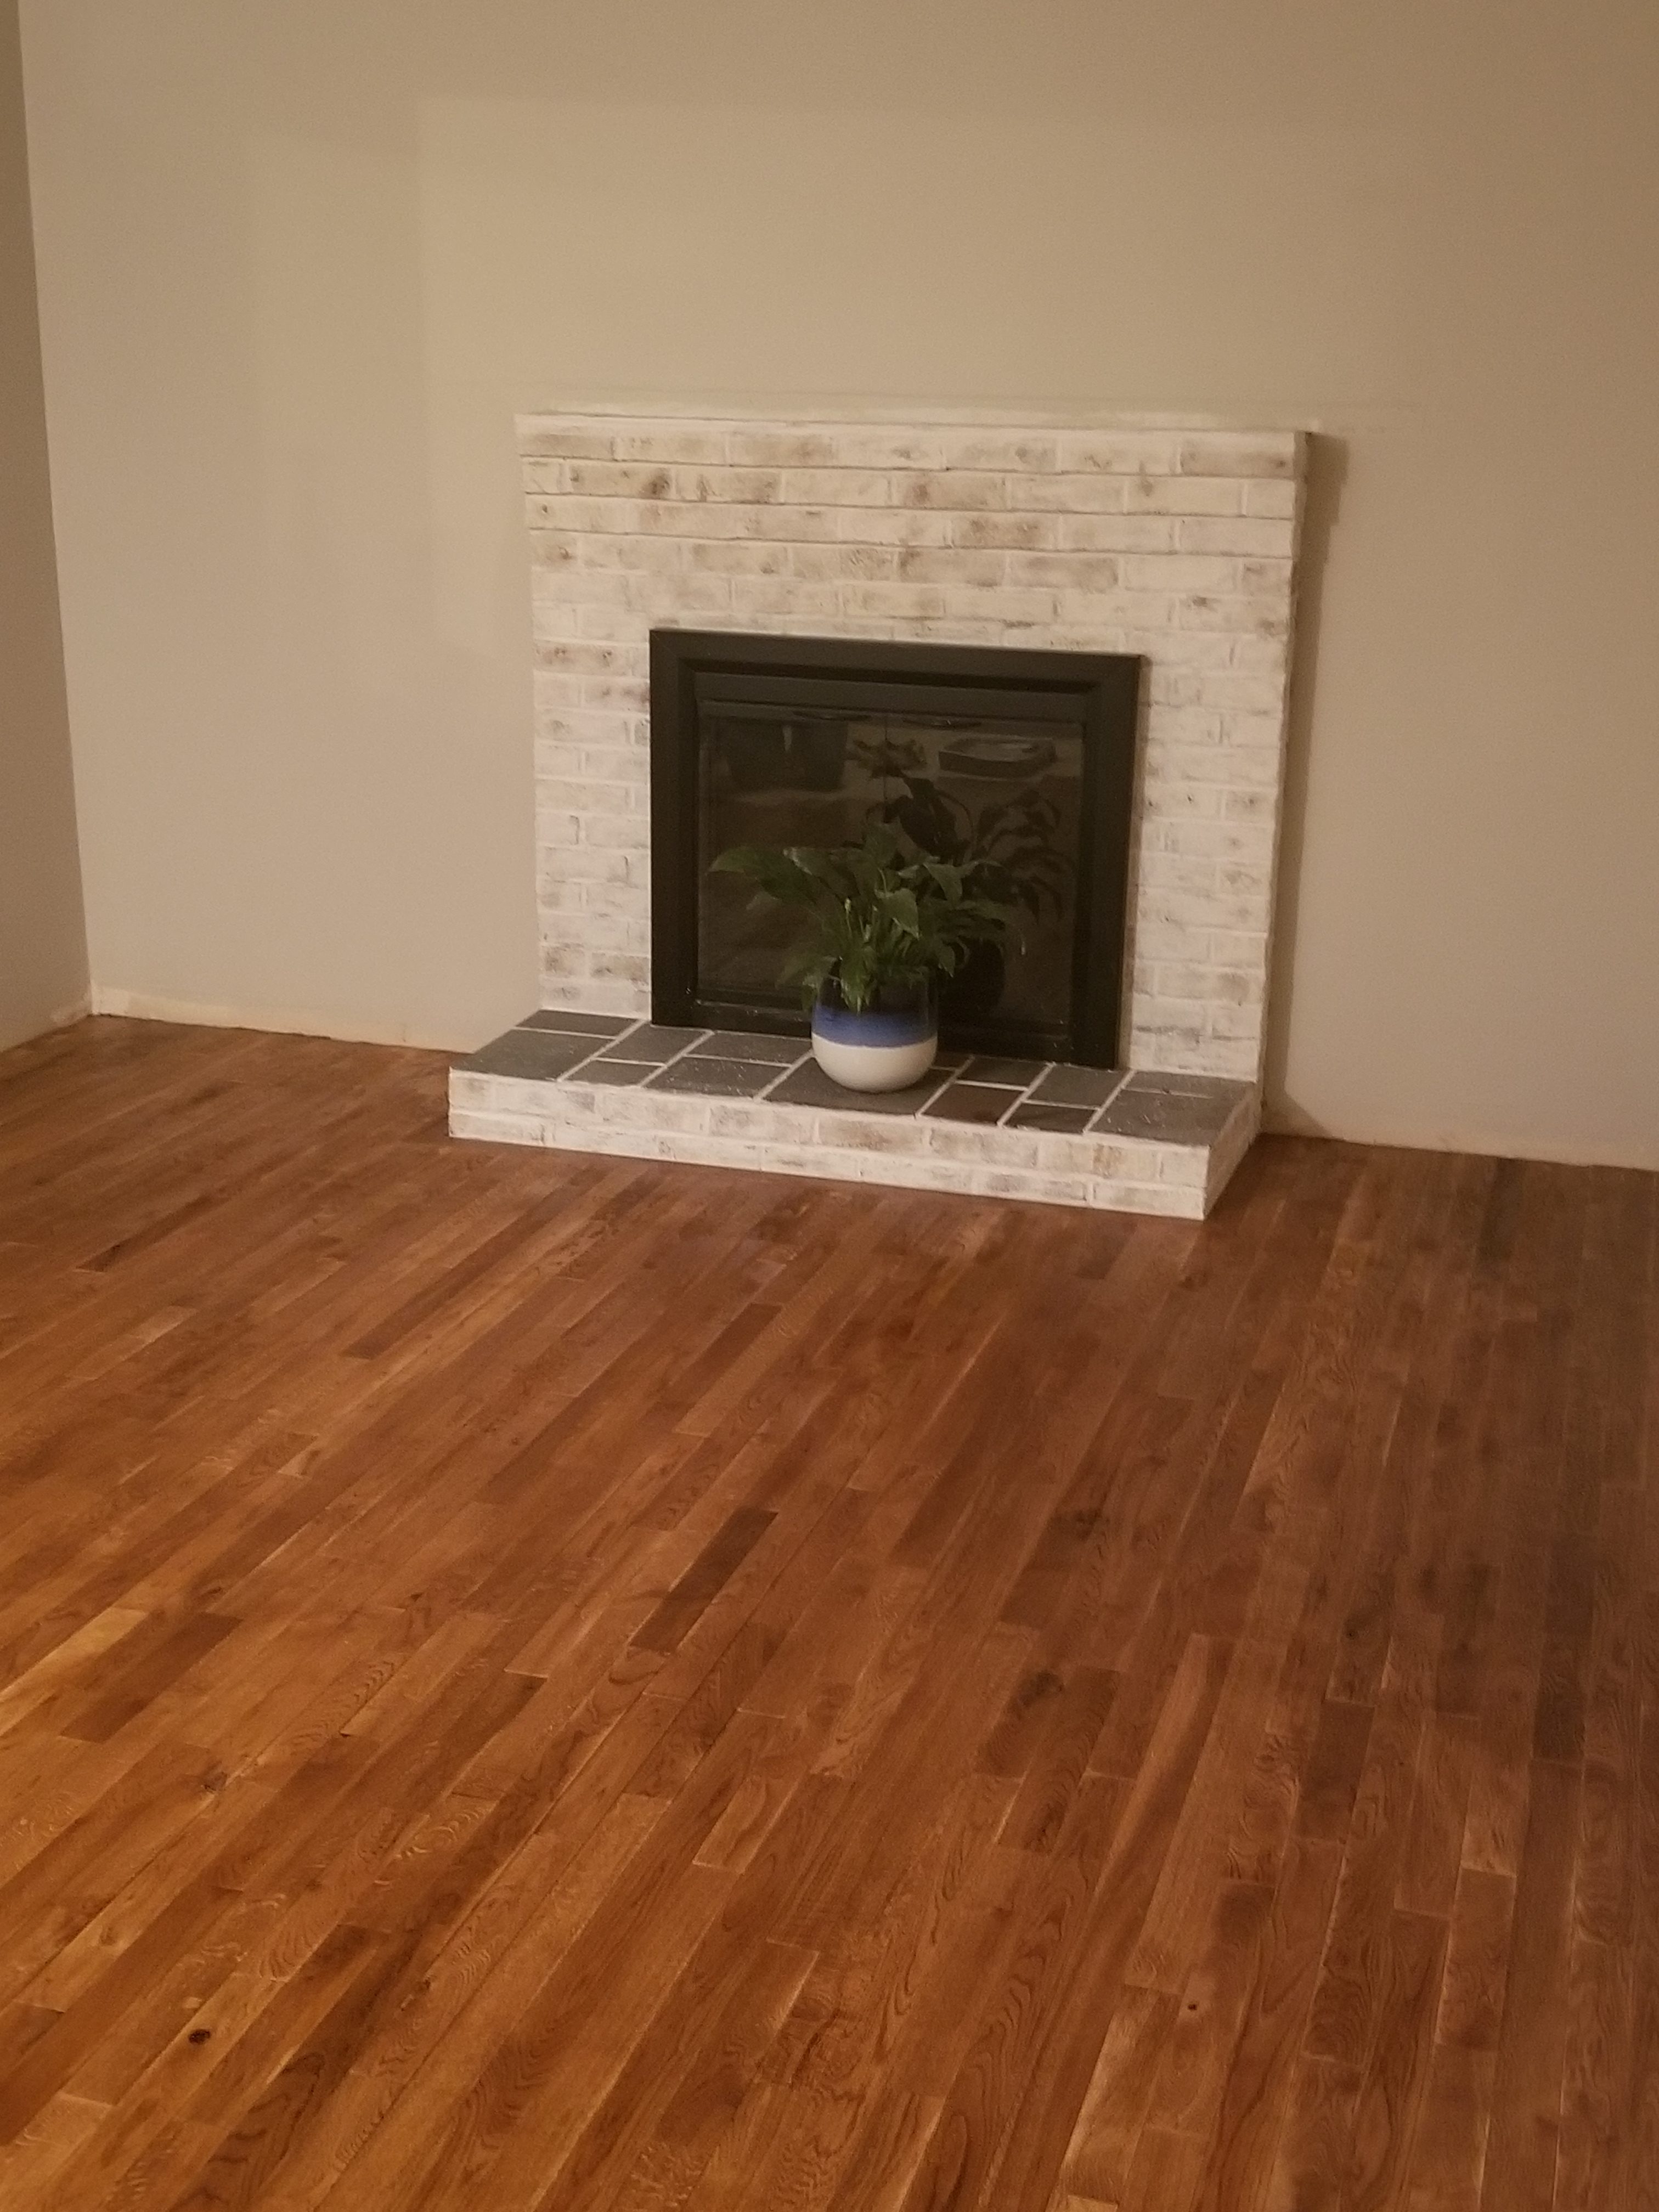
We ultimately choose Minwax Golden Oak, and only needed about 1/2 of a gallon. We only did one coat of stain and would have used closer to a full gallon had we decided to do a second coat.
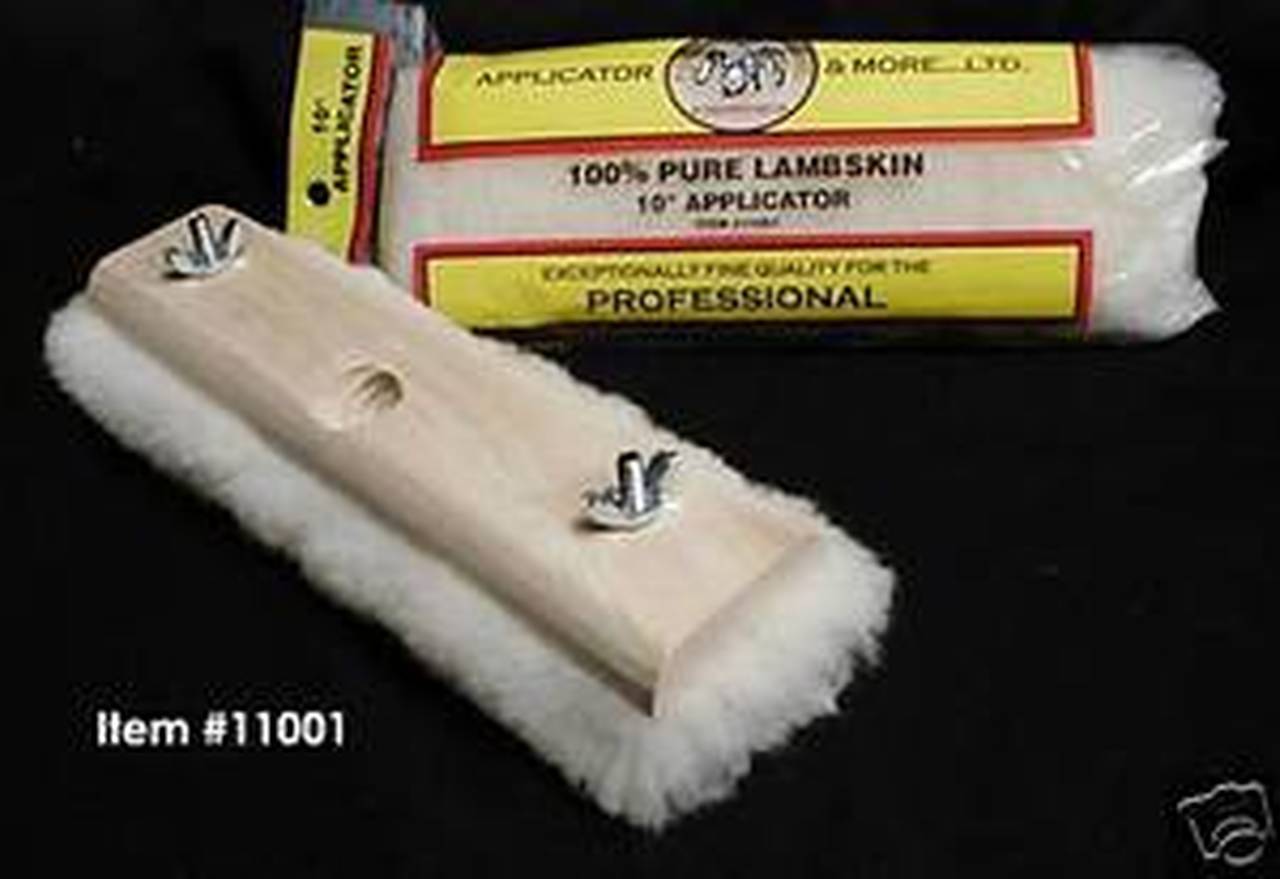
You’ll also need a lambskin applicator and paint brush that works with the type of stain you’re using.
Staining your hardwoods:
We found that having two people one using the brush and one using the lambskin applicator was the most efficient way to apply the stain.
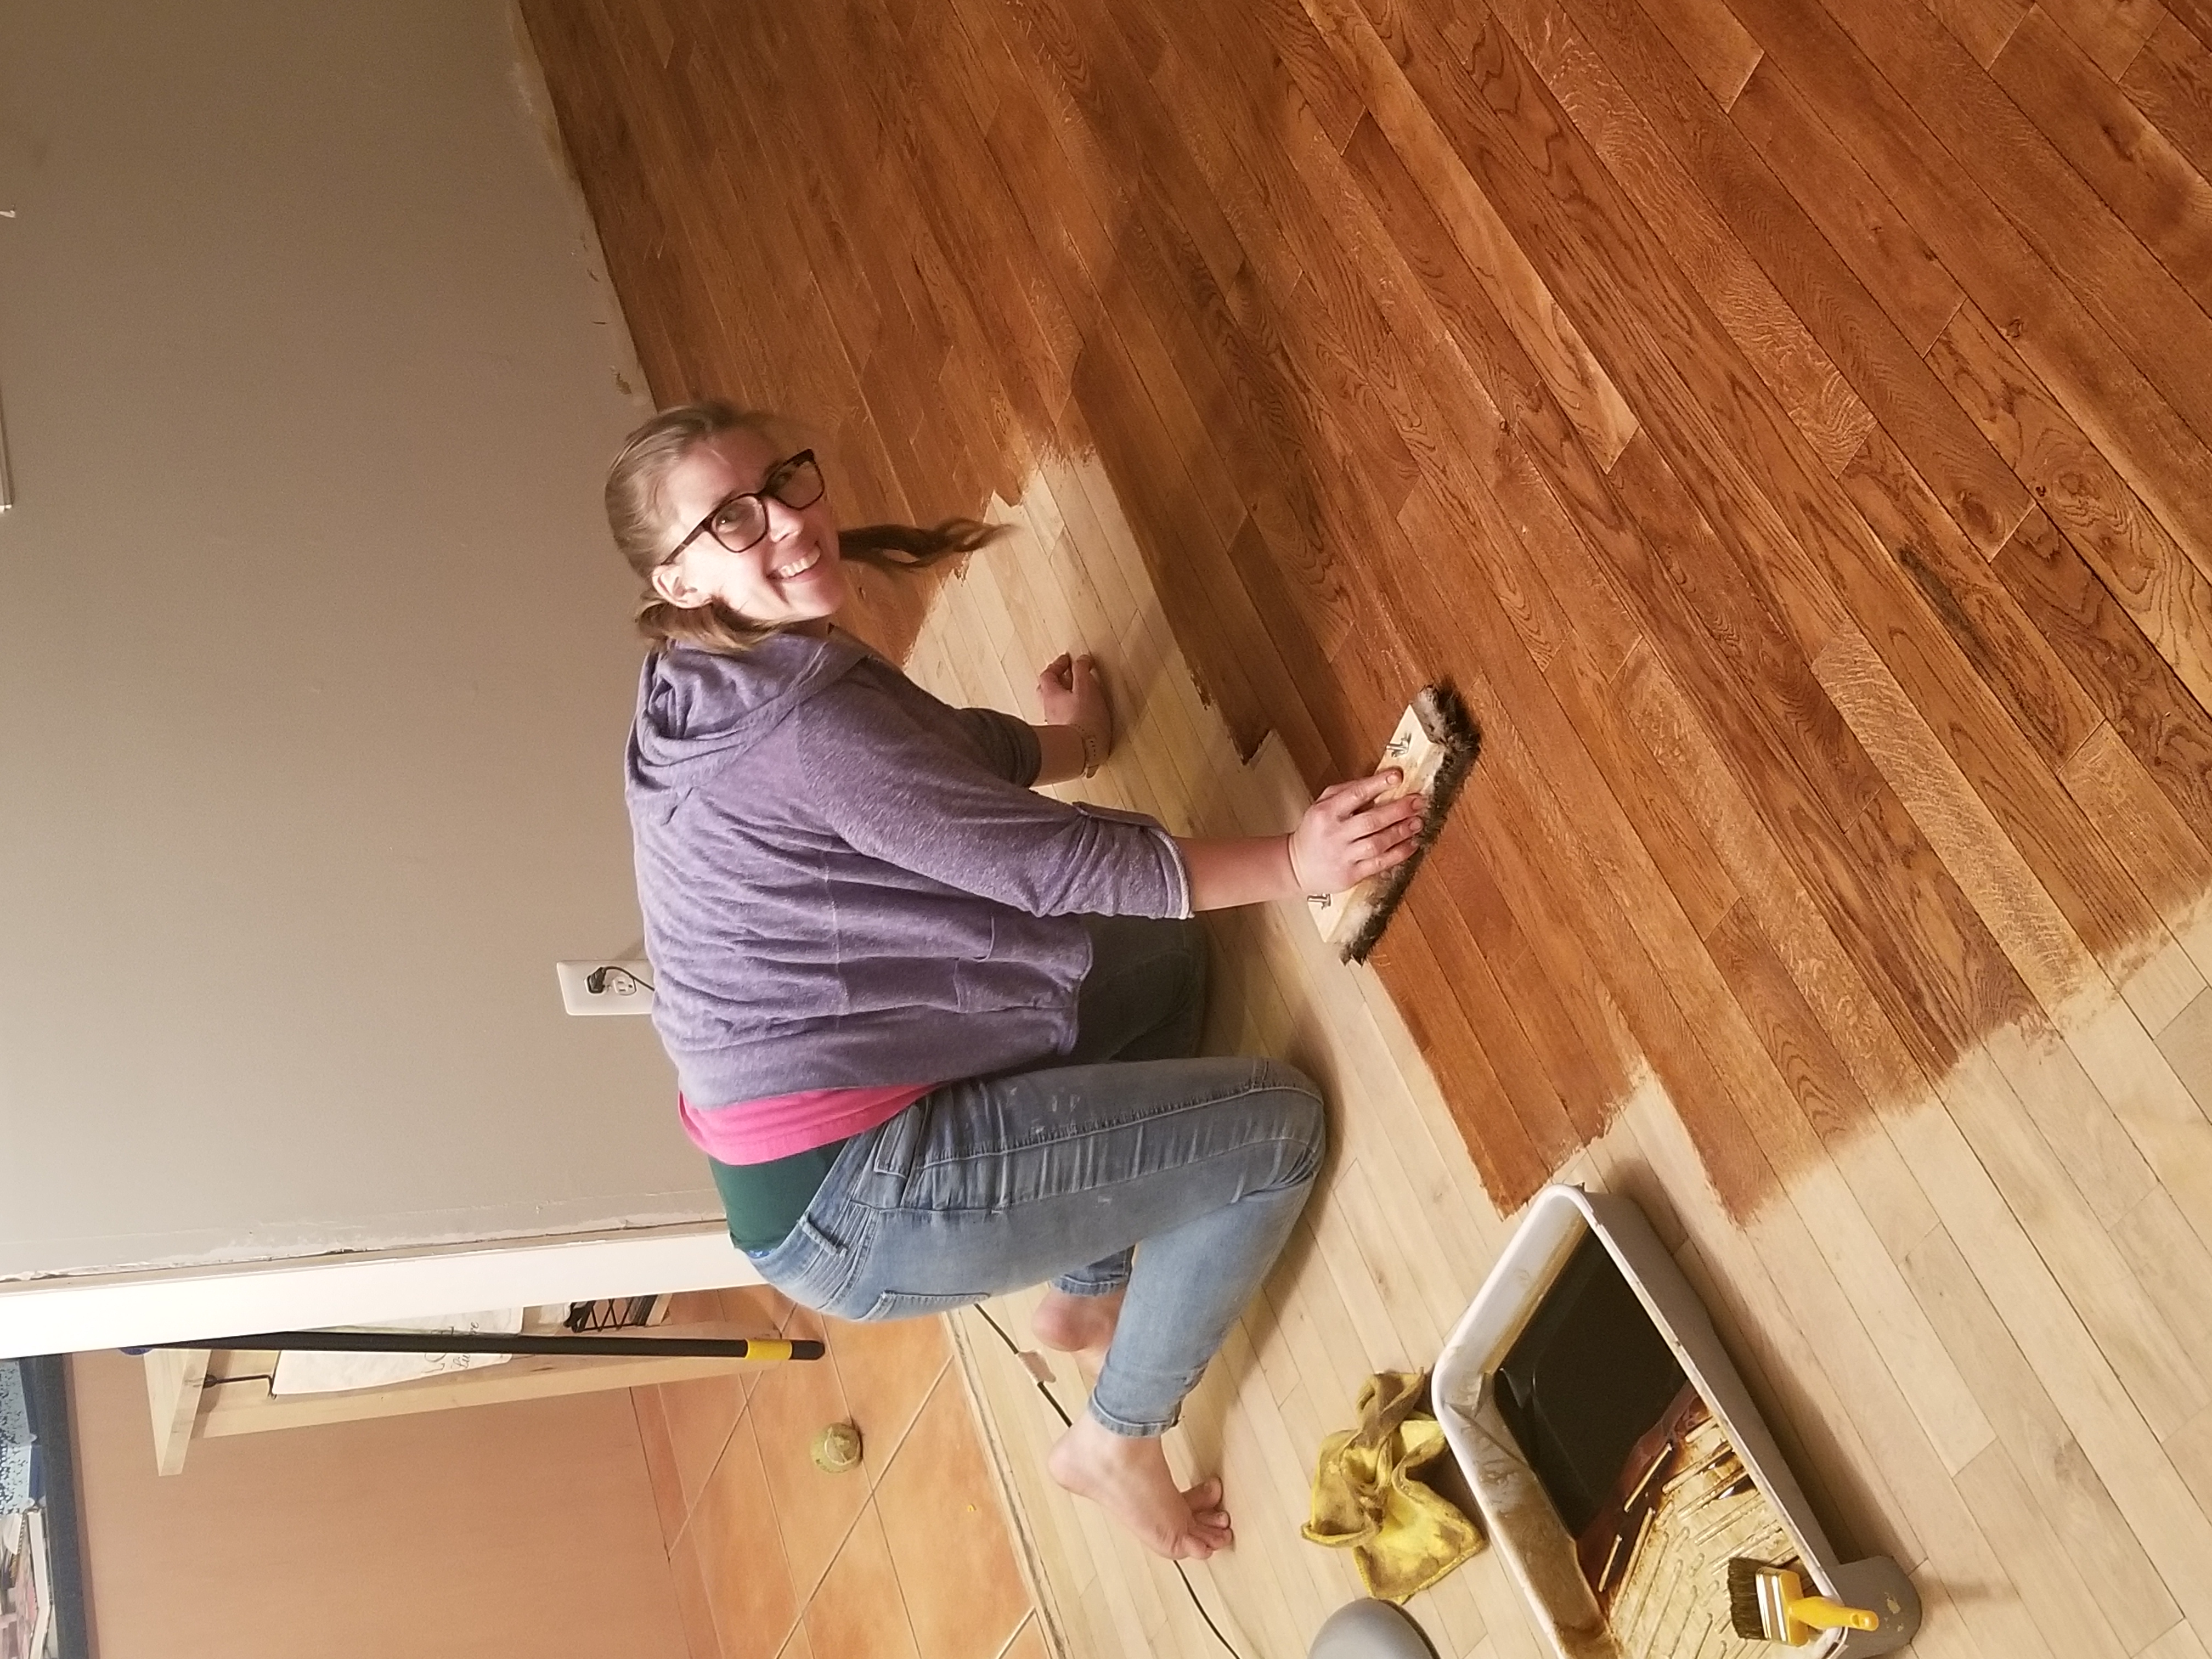
Step 1: Edge the area you are working on, making sure to not get to far ahead as you need to make sure the stain doesn’t dry in areas you still need to go over, so that you don’t get a darker area or a line.
Step 2: Use the Lambskin applicator to go over the area you just edged. I found it easiest to do this on my hands and knees. We found it best to work simultaneously. Be sure to work efficiently so you don’t have the stain drying before you get to the next area. Also be sure that you don’t have bubbles or pooling.
Step 3: Continue until the whole floor has been stained.
Step 4: Let floors dry according the directions on your stain. Once stain has dried you can decide whether or not you want to apply a second coat to darken the color (we did not).
***Make sure you don’t leave any applicators just sitting we in a pile, they could spontaneously combust. Please look up proper methods for disposal!
Sealing your Floors:
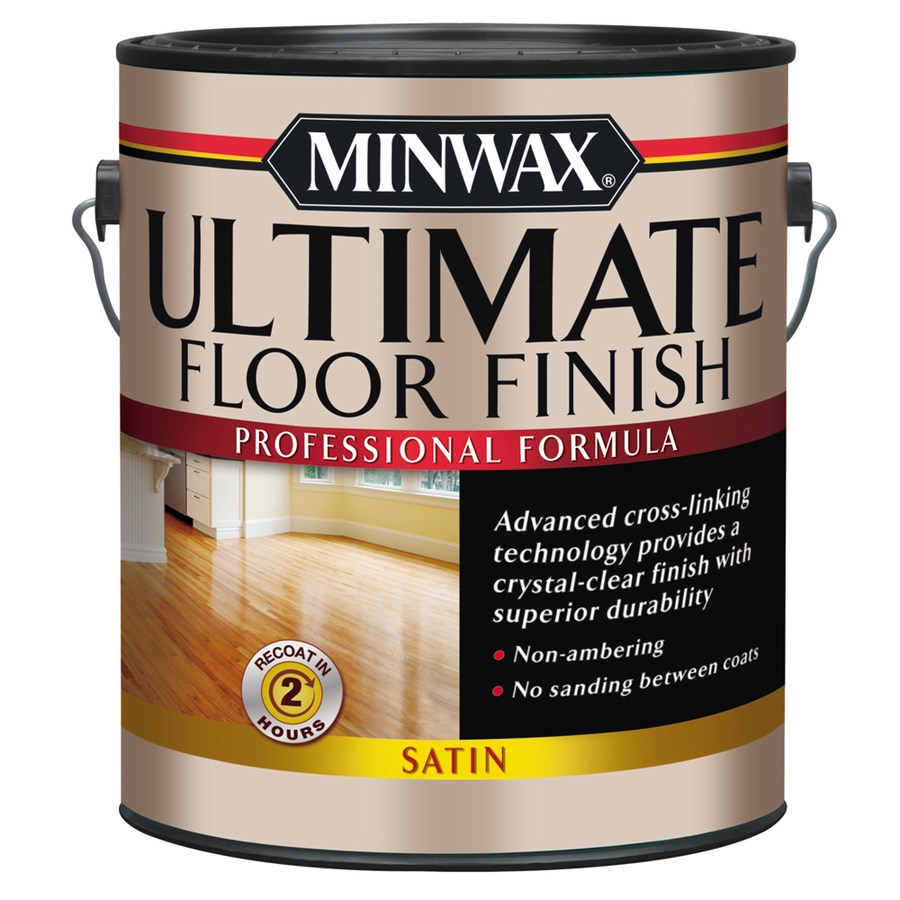
When it came to sealing the floors we choose to use Minwax Ultimate Floor Finish in Satin. We knew we didn’t want a high gloss finish, or to use a product that would yellow over time.
While this product worked well, it was a hassle to use. We had to return multiple gallons to the store as they had starting curing on the bottom. After the second trip to the store we finally started opening and checking them in store. We ended up using one whole gallon plus about a quarter of the second gallon. Unfortunately we had to buy a second gallon as it isn’t sold in quarts.
Process:
The process for sealing the floor is essentially the same as staining. You will need one lambskin pad for each coat of sealer (we did 3). And a brush that will work with the type of sealer you choose. As we were using a water based sealer we used a brush with chinex bristles and were able to easily clean it with soap and water between coats. We chose to attach a handle to the lambskin applicator to apply the sealer from a standing position.
As with the stain be sure you don’t have any bubbles or pooling. Also be sure that you don’t apply to thickly as this will prevent proper drying. Between coats 2 and 3 we did a light sanding by hand with 220 grit, and then cleaned the floors well before applying the 3rd coat. Be sure to follow the directions on your product of choice for dry times, etc.
Next time I will cover whether we would sand, stain and seal our floors again, or if we would call the professionals.